| Payment Type |
SWIFT (Priority) |
Local (Regular) |
| Cutoff time (UK Time) |
4.15 PM |
24 hours a day processing (Monday - Friday). |
| Delivery time frame |
0-2 days (depending on the beneficiary bank)
|
0 days |
| Maximum payment size |
No limit |
£1,000,000 |
| Payment Scheme |
CHAPS (GBP to the UK)
SWIFT (GBP to any other country) |
Faster Payments Service (FPS) |
| Destination countries |
Any (excluding unsupported countries) |
United Kingdom, Gibraltar, Guernsey, Isle of Man, Jersey |
| Traces |
Yes |
No |
| Recalls |
Yes |
No |
| Ultimate payer displayed? |
Yes |
Yes |
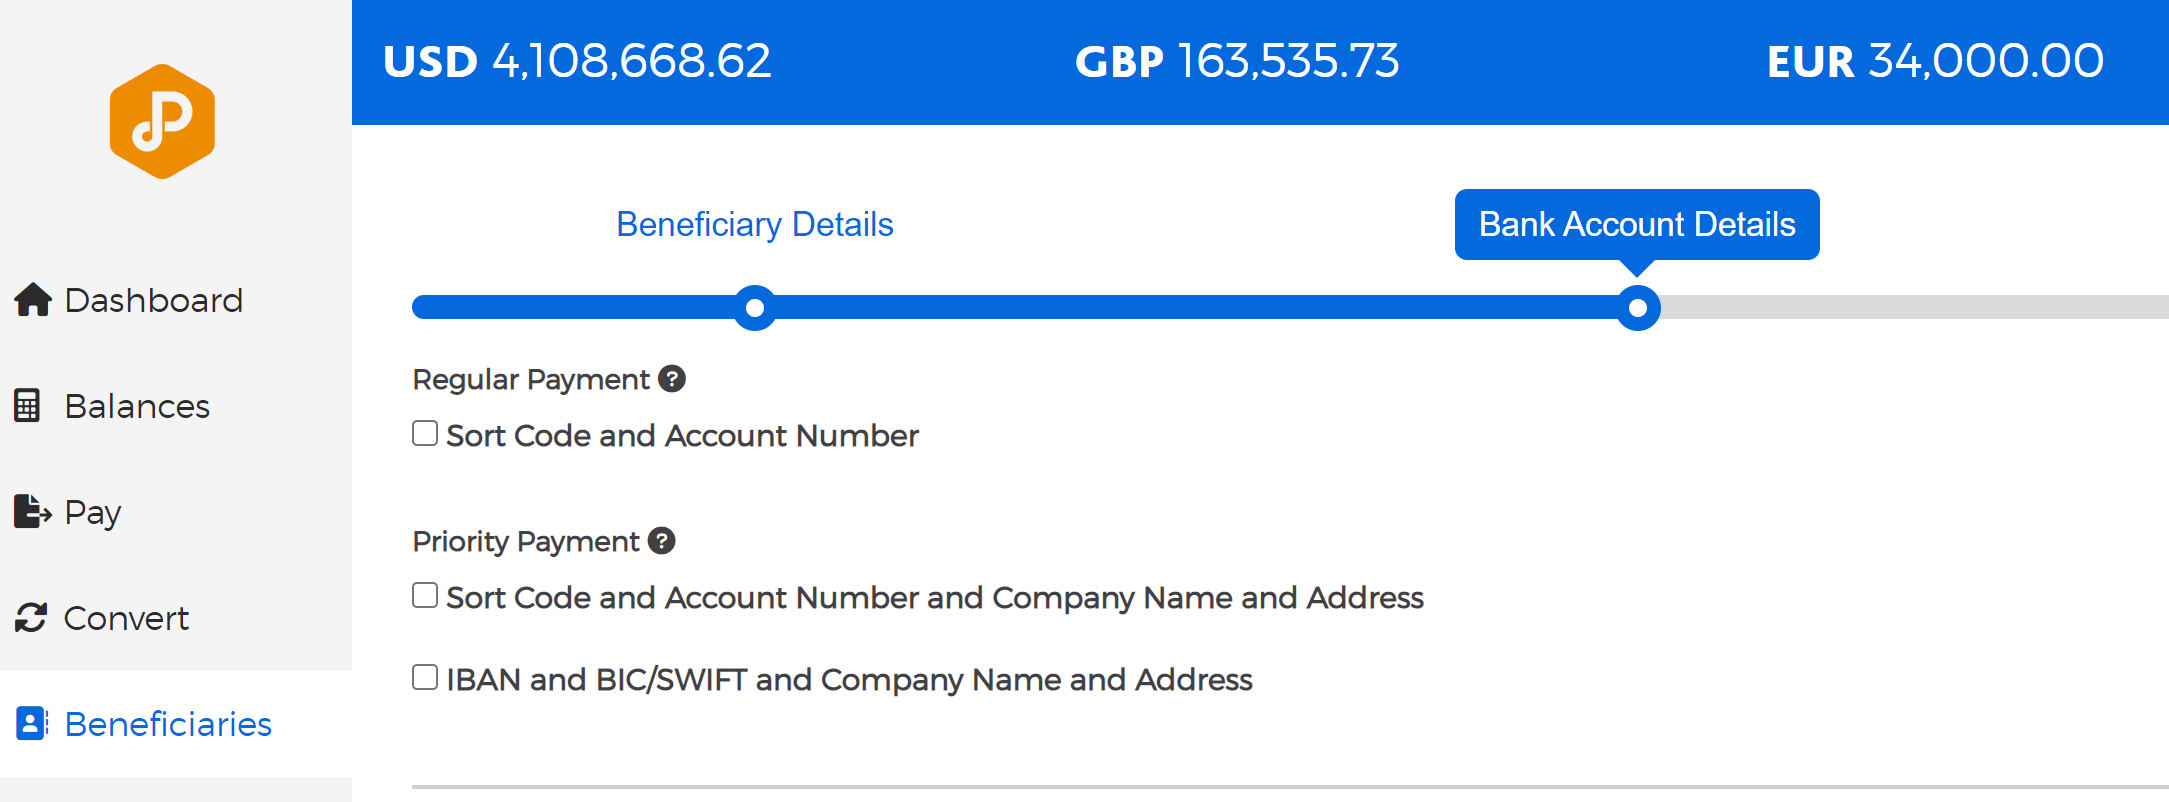
Step 1 - add Beneficiary and choose Regular payment method.
Step 2 - add the UK Faster payment bank details
For more details on how to set up a Beneficiary follow this link - Add or Set up a Beneficiary to Pay

Euro (EUR)

For Domestic Payments (where the receiving bank is located within the Single Euro Payments Area)
- Payments sent via Regular will be routed via SEPA (SEPA is the cheapest & fastest way to send payments domestically within Europe - We recommend to always use this option when available)
- Payments sent via Priority will be routed via SWIFT (despite the name, Priority SWIFT is slower compared to SEPA and can attract fees - We recommend to avoid SWIFT wherever SEPA is available)
For International payments (where the receiving bank is outside the Single Euro Payments Area)
- Payments sent via Priority will be routed via SWIFT
ATTN: When sending payments it is important you select the correct payment method for the accounts you wish to pay. Sending a payment via Priority SWIFT to a SEPA account will result in a failed payment.
Time Frame Overview
|
Payment Type
|
SWIFT (Priority)
|
Local (Regular)
|
|
Cut-off time (UK Time)
|
2:30 pm
|
2:00 pm
|
|
Delivery time frame
|
0-2 days (depending on the beneficiary bank)
|
0-1 days (depending on the beneficiary bank)
|
|
Payment Scheme
|
SWIFT (EUR to any other country)
|
SEPA Credit Transfer (SCT) *
SEPA Instant Credit Transfer (SCT Inst) *
|
|
Maximum payment size
|
No limit
|
€100,000 (SCT Inst)
No limit (SCT)
|
|
Destination countries
|
Any (excluding exception)
|
SEPA countries
|
|
Traces
|
Yes
|
No
|
|
Recalls
|
Yes
|
No
|
|
Ultimate payer displayed?
|
Yes
|
Yes
|
* Please note, for payments where the beneficiary bank is connected to SCT Inst and the payment is below €100,000 the payment will be automatically routed via SEPA Instant Credit Transfer (SCT Inst) If the beneficiary bank is not Inst-reachable, the payment will be sent as an SCT.
Regular payments
Within Europe, Regular payments are sent via SEPA which is the most efficient and cheapest way to send a payment. We recommend you always use this option when sending payments within Europe. Payments will either be sent via SEPA Instant (if the receiving bank can accept it) or regular SEPA and in that case payment is typically received same day.
To set up SEPA payments
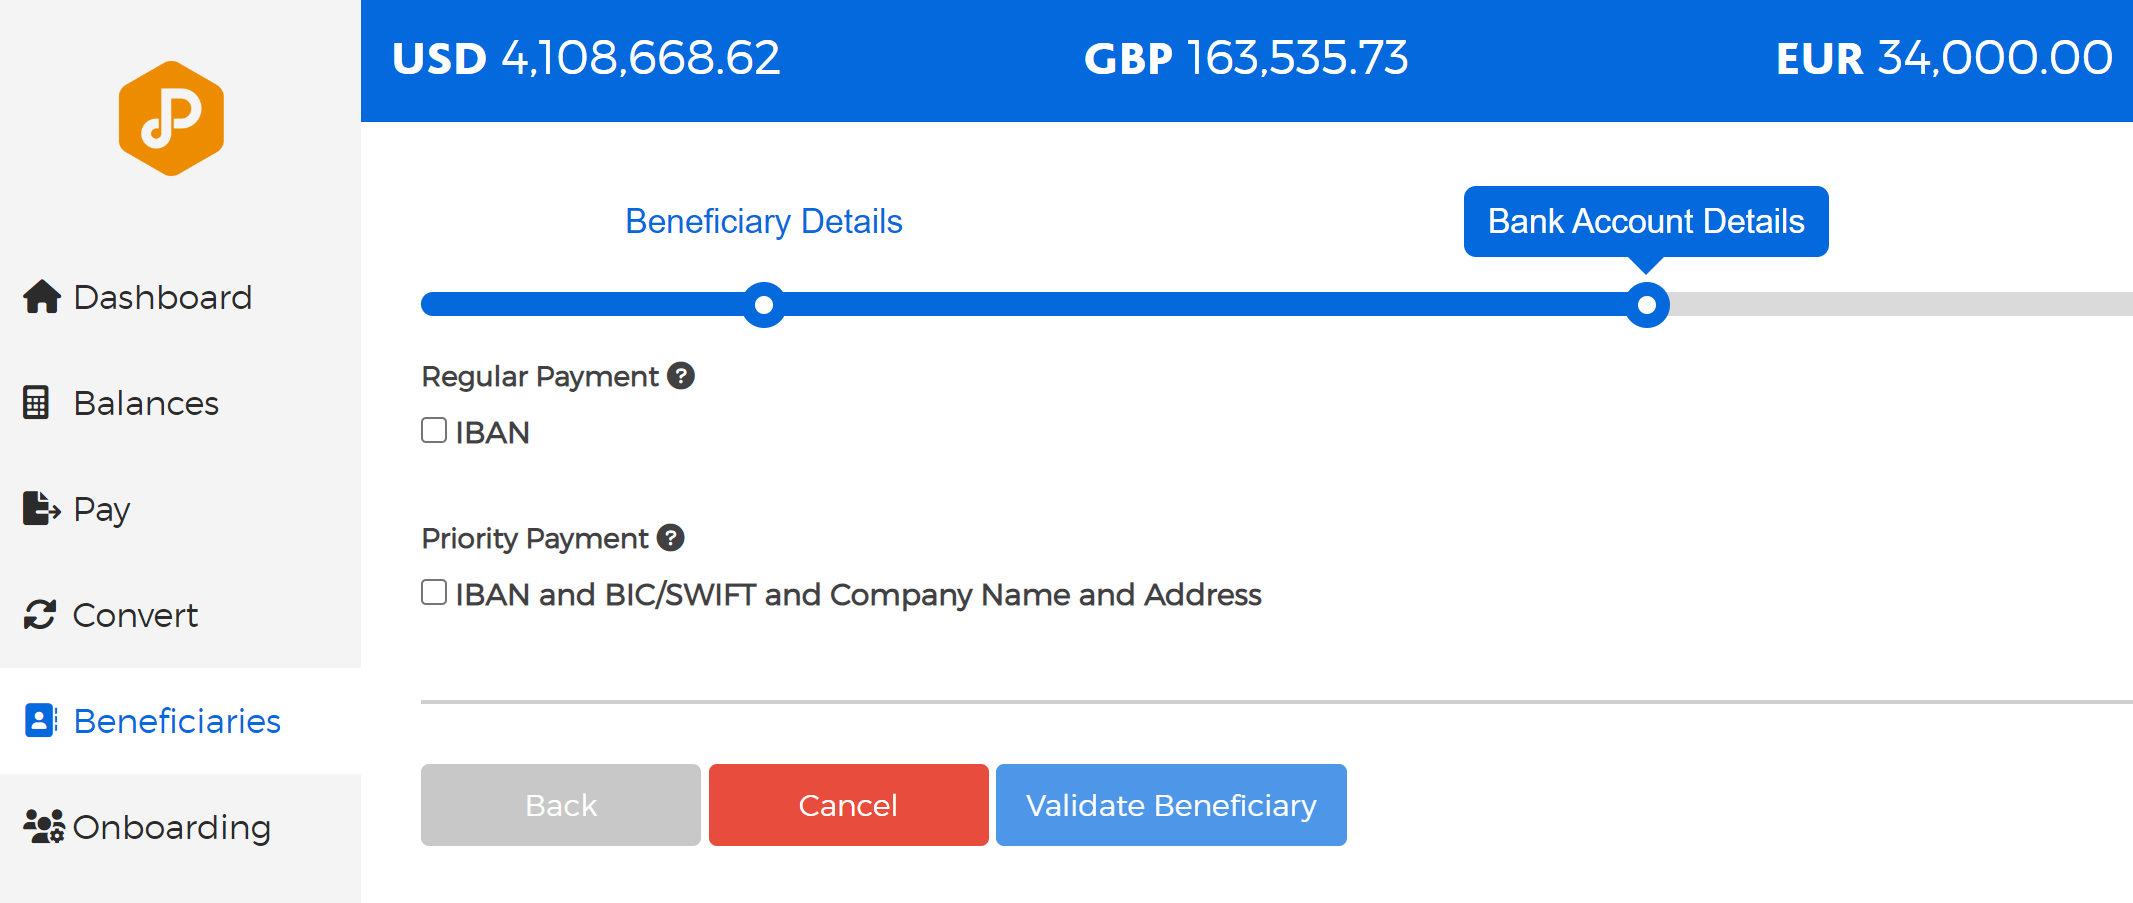
Step 1 - add Beneficiary and choose Regular payment method.
Step 2 - add the SEPA payment details.
For more details on how to set up a Beneficiary follow this link - Add or Set up a Beneficiary to Pay

Priority payments
For payments in EUR we recommend you only use Priority SWIFT payments if the receiving bank is not able to receive SEPA. For the most part this would mean payments sent to banks located outside of Europe.
For International Priority SWIFT transfers, the intermediary banks involved in the transfer may apply fees which are deducted from the amount sent. As a result, the payment amount received in the beneficiary bank account may be less than the full amount expected.
To set up Priority Payments
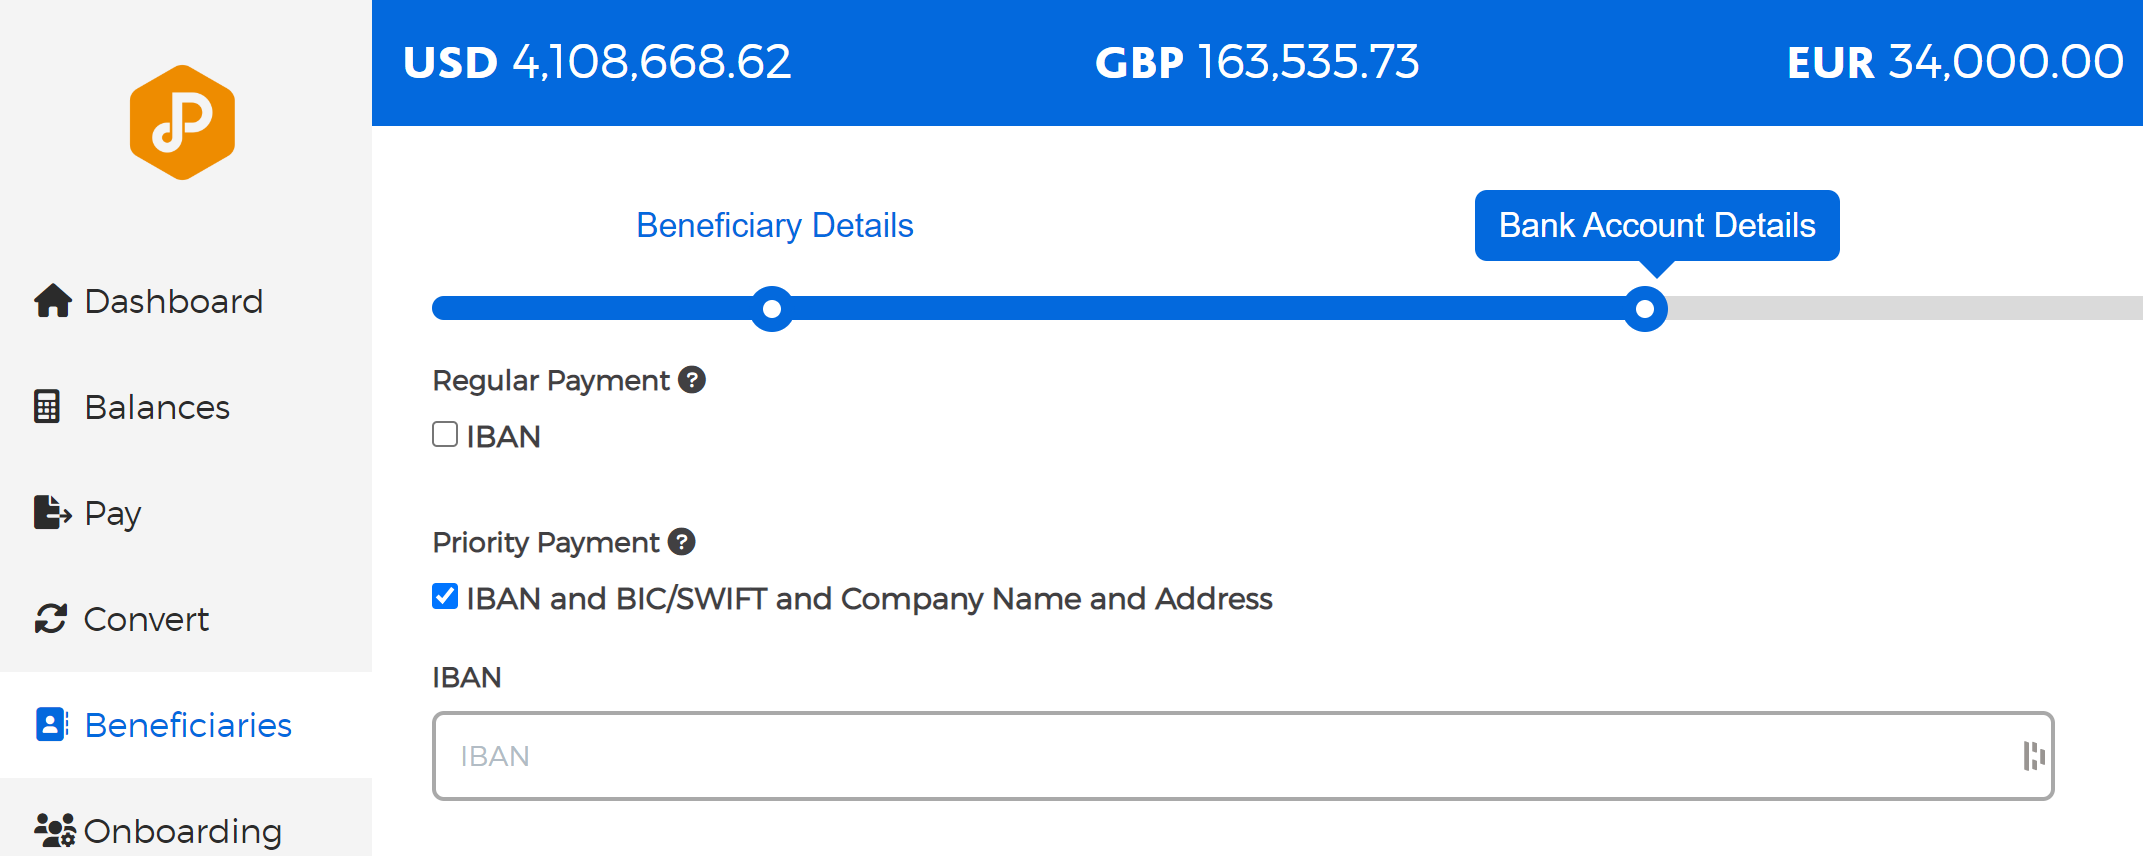
Step 1 - add Beneficiary and choose the Priority payment method.
Step 2 - add the Swift/Fedwire payment details.
For more details on how to set up a Beneficiary follow this link - Add or Set up a Beneficiary to Pay
